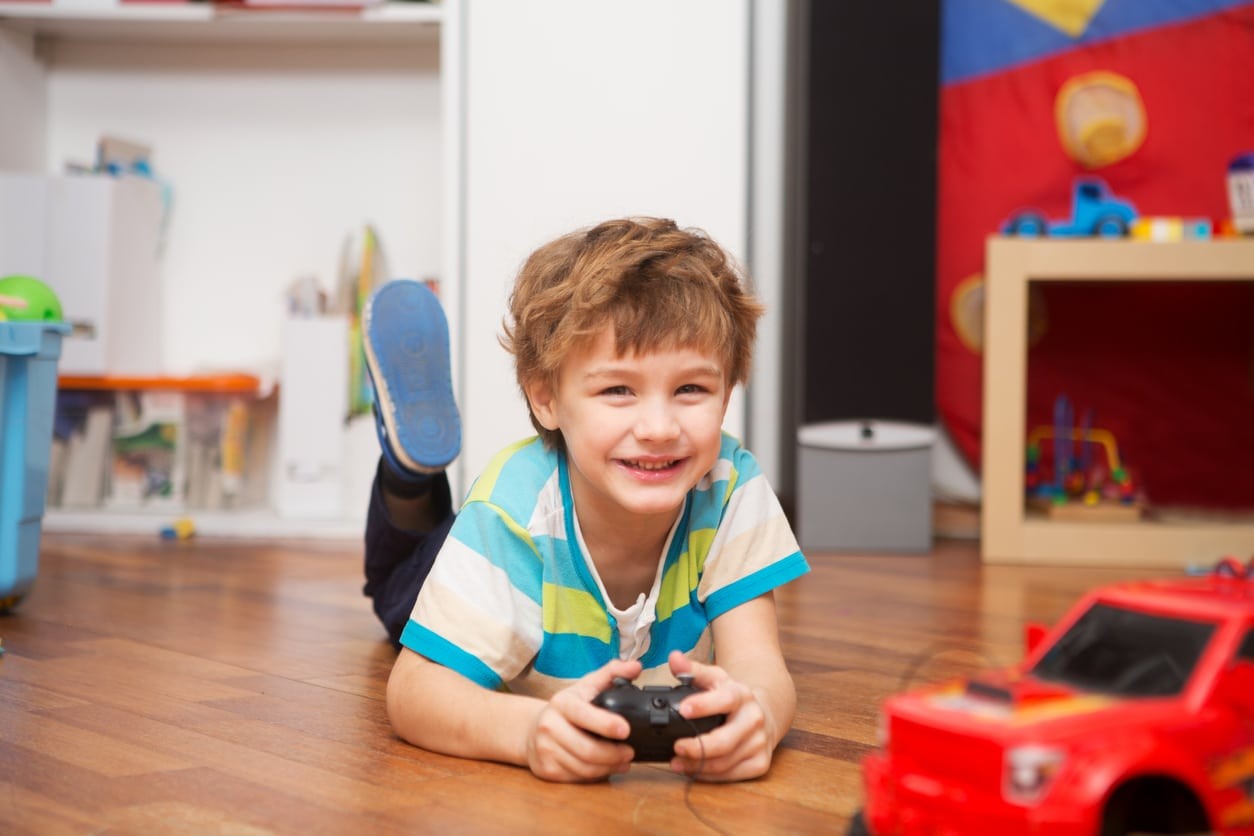
Kids and toys are an inseparable duo, and many of these toys run on batteries. Battery-operated toys often provide hours of entertainment and learning opportunities, but battery corrosion can occur over time, posing a risk to the toys and your child's safety.
In this guide, we'll explore the importance of addressing battery corrosion, the tools and materials needed for effective cleaning, and a step-by-step process to revive your child's toys safely.
The Basics Of Battery Corrosion
Battery corrosion results from battery acid leakage or the buildup of potassium hydroxide on the battery compartment's terminals. It commonly appears as a white, powdery substance and can cause various issues in battery-powered toys. It's not only unsightly but can also lead to:
- Reduced Toy Functionality: Corrosion impedes the flow of electrical current, leading to toys malfunctioning or not working.
- Risk of Ingestion: If the corrosion spreads to the toy's exterior or isn't cleaned up, your child may come into contact with the harmful substance.
- Permanent Toy Damage: If left untreated, battery corrosion can cause irreparable damage to the toy and the battery compartment.
The Importance of Cleaning Battery Corrosion
Cleaning battery corrosion is key to maintaining the functionality and safety of your child's toys. Here's why it's essential:
Toy Longevity
Proper cleaning can extend the life of your child's toys, ensuring they continue to provide enjoyment and learning opportunities.
Safety
Battery corrosion contains harmful substances that can cause skin irritation and are toxic if ingested. Cleaning it promptly reduces the risk of exposure to your child.
Peace of Mind
A clean, well-maintained toy is safer and provides peace of mind for parents, knowing that their child is playing with a safe and functional toy.
Materials and Tools for Cleaning Battery Corrosion
Before you begin the cleaning process, gather the following materials and tools:
- Disposable gloves: These protect your hands from contact with battery corrosion.
- Safety glasses: These provide an additional layer of protection for your eyes.
- Cotton swabs: Ideal for applying cleaning solutions and removing corrosion.
- White vinegar: A mild acid that can effectively neutralize battery corrosion.
- Baking soda: Useful for creating a cleaning paste.
- Water: To dilute vinegar and create a cleaning solution.
- Toothbrush: A soft toothbrush is excellent for scrubbing small crevices.
- Screwdriver: If your toy requires battery removal, a screwdriver helps with this task.
- Rubbing alcohol: Useful for final cleaning and ensuring a corrosion-free surface.
The Step-by-Step Cleaning Process
Now that you have the necessary materials and tools follow this step-by-step process to clean battery corrosion in toys safely:
Safety First
Always start by ensuring your safety. Put on disposable gloves and safety glasses to protect your skin and eyes from exposure to battery corrosion.
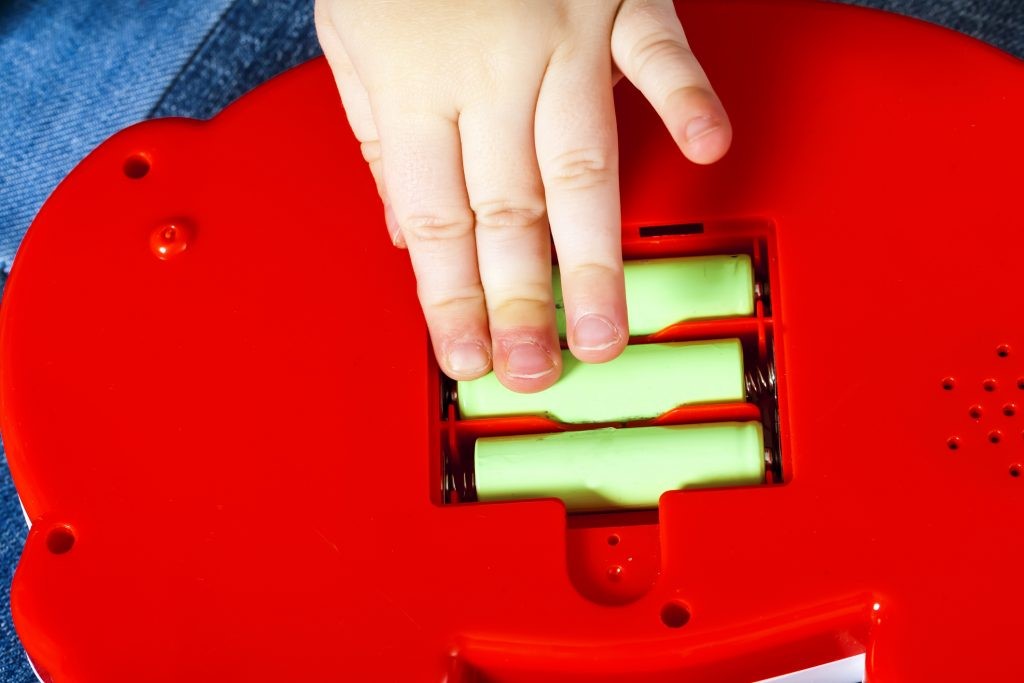
Battery Removal
If your toy has removable batteries, carefully remove them using a screwdriver. Be cautious not to let any corrosion fall into the toy's interior.
Isolate the Toy
Move to a well-ventilated area and isolate the toy from other objects and surfaces. Lay it on a clean surface that's easy to clean afterward.
Loose Corrosion Removal
Gently tap the toy to dislodge any loose corrosion, which should fall away. Dispose of it in a plastic bag, sealing it securely.
Prepare Cleaning Solution
Mix one part white vinegar in a small container with one part water. This diluted vinegar solution is safe for cleaning and neutralizing corrosion.
Application of Solution
Dip a cotton swab into the diluted vinegar solution and carefully apply it to the corroded areas. Allow the solution to sit for a few minutes, which will help neutralize the corrosion.
Scrubbing
After the solution has had time to work, gently scrub the corroded areas with a soft toothbrush. Be cautious not to apply excessive pressure, which can damage the toy's surface.
Rinse and Dry
With the corrosion removed, rinse the toy with clean water to ensure no vinegar residue remains. Pat it dry with a clean cloth.
Final Cleaning
Apply a small amount of rubbing alcohol to a cotton swab to clean the previously corroded areas. This step helps ensure that no corrosion or residue remains.
Battery Reinstallation
If your toy requires battery removal, reinsert the cleaned or new batteries, ensuring they are correctly positioned according to the toy's instructions.
Testing
Before giving the toy back to your child, test its functionality to ensure it's working correctly.
Reviving Playtime: Concluding Tips for Toy Battery Corrosion Cleanup
Cleaning battery corrosion in toys is vital in maintaining toy functionality and ensuring your child's safety. Following the steps and safety precautions outlined in this guide can effectively clean battery corrosion and extend the life of your child's favorite toys.
Regular inspection and prompt action when corrosion is detected will ensure that playtime remains safe and enjoyable for your child.